Pages

Showing posts with label Paper craft. Show all posts

Monday, October 17, 2016

A journal making to store design papers

I have many designs on papers, like embroidery designs, dress designs etc. I had kept those in a normal paper folder. Artist in me was not satisfied with the plain paper folder. To make it interesting , I thought of decorating the folder to keep all the designs. I haven't used any special technique, just went on doing whatever came in my mind. :)
 It is a folder made of cardboard, I stuck cloth all over the folder. On the cloth, glues some wet tissue.
Folder decoration
Folder with wet tissue glued on it
Once the tissue dried applied , light blue and dark blue paint on it.
File decoration
After application of paint
On the front attached wooden embellishment and painted it with golden color:
File decoration
With wooden embellishment 
Back of the folder with a lock embellishment :
The folder looks better rather than plain folder to store my designs.

Coming up with embroidery projects soon. Keep an eye on my blog:)

Love , laugh and live the life to the fullest,
-Ranjana

Friday, June 10, 2016

Decoupage on metal

Decoupage bug has bitten me. I have completed many decoupage projects. I had learnt decoupage few years ago. My first decoupage was on an aluminum plat, about which I have written in post Decoupage.
Decoupage
Decoupage on aluminum plate
 Few years I did not work on any decoupage project.This year completed many decoupage projects in the process of decorating my craft room. One with a craft table  and also on a shelf to keep in my craft room. And recently on mdf box, with paper napkin.

 Decoupage on  metal :  

 This project also part of decorating my craft room. As I paint sometimes , I have collection of paints and  brushes. Recently when I visited Itsy Bitsy shop I bought some metal containers and holders. These can be bought online also. Here it is :
Metal tin
Metal tin
 As the first step , applied primer:
After application of primer
 I had some decoupage papers with images of old streets of Italy. I don't know whether streets in Italy look like this , but the shop keeper told be this is decoupage paper with images of streets in Italy :). Here are those decoupage papers:
Decoupage paper
Decoupage paper with image of streets in Italy. That's what the shop keeper told me :)

 Next step to attach the papers on the tin:
decoupage
Tin attached with paper
I have used modpodge for this project , as the size of the tin is small. And painted with colors matching to the design on the papers.
decoupage
It is ready to hold paint and brushes
 Now it is ready to hold the paint and brushes I have.

Many craft learners ask me whether to use fevicol or modpdge  for decoupage. In case the object is big in size like shelf or table etc I use fevicol to stick the paper and to give gloss I use modpodge. If the object is small I use modpodge to stick as well as for gloss. 

Made one more box with Warli design , soon will share about that.

Love , laugh and live the life to the fullest,
-Ranjana

Tuesday, May 24, 2016

Decoupage table- to make a table look new

This year I have worked on many decoupage projects. Decoupage table for my craft room, then a decoupage shelf for the same. I feel decoupage is a simple craft which gives great results. The object gets transformed to look new. The simple wooden basket is made to look antique with miniature painting, by using some papers and glue.

Decoupage table this time: 

My son, who was observing me working on decoupage was astonished to see the results. His table was looking old, so he got an idea to make it new by using decoupage.He told me to make it new with decoupage. His old table looks new now with floral design on it:
Ok , before decoupage, how was it looking? Here it is:

What a transformation using decoupage!!!  And it is simple too.
I always use fevicol for decoupage if the size of the object is big. Here also I used paper with floral prints and fevicol. Made broad strips of the paper and glued it with fevicol.
Then applies glue on top of it also to give a shiny look.
 My son is very happy with the look now, though he wanted animal print paper for it. I could not get animal prints paper, at that moment.

Now  I have few decoupage papers with animal prints, planning to make some more projects using those.

Love , laugh and live the life to the fullest,
-Ranjana

Thursday, April 14, 2016

Decoupage Box- Antique look

Recently worked on many decoupage projects. I feel among all the crafts, decoupage is less time consuming and gives magical transformation. In the process of decorating my craft room, I'm making many handmade items . I have already shared about the craft table made,  and the shelf transformed with decoupage.  This is one more decoupage box to decorate my craft room.I have used antique look paper with miniature painting.
Here is it with my craft supplies:
Decoupage box
Box with my craft supplies


How to make decoupage box with antique look(Tutorial)

This is a wooden box, which I got it made by a carpenter. The first step is to paint with primer.

Decoupage box
First paint with primer

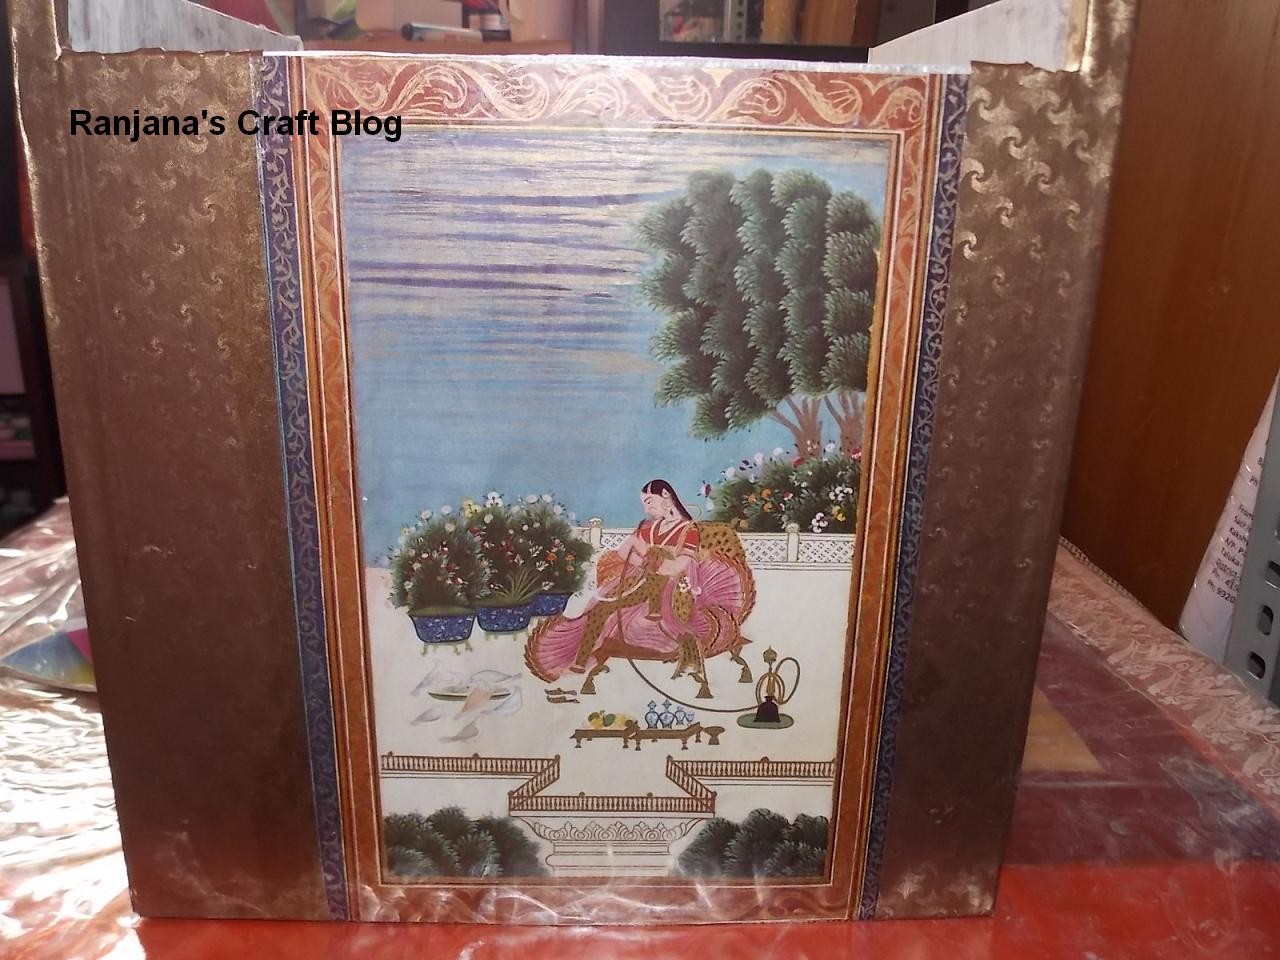
 I have some miniature paintings replicas , which I had got when I had visited Salar jung museum , Hyderabad. Attached it on one side of the box.
Decoupage box
Miniature paint attached
To give antique look, I selected a paper with antique look. Attached it on all the sides of the box.
This time I used Modpodge for the decoupage. I felt it was very easy to handle and the finishing was very nice.
Decoupage box
With antique paper attached

Here is the box completed:
Decoupage box
Completed box

Inside also painted with brown color and outside with a modpodge. It looks like antique box. Hope to complete many more projects in coming days. Will definitely share with you all.

Love , laugh and live the life to the fullest,
-Ranjana

Saturday, October 24, 2015

Customized card making

Its already years I made cards. Few years back I had made quilled cards for teacher's day because of my son's demand. Recently inspired by many card makers, again getting back to card making. I had the occasion too.
In our custom, when a baby starts walking , and the baby crosses the main door of the house, we celebrate it . In Kannada its called "Door crossing ceremony"(ಹೊಸಲು ತುಳಿಯುವುದು). One of my friends had invited me to the ceremony. She has twin babies. So I decided to make a card to wish them. I chose yellow handmade paper, to show the brightness.

And made a door with ice cram stick, in the shape of door. Attached the shape of feet using punchcraft.

Painted the door with wood color, acrylic paint

 As it was the ceremony for twin babies , glued two small baby punchcrafts and some embellishments which I had bought.
Outside glued some punch craft flowers and pearl embellishments.
I made this card to conceptualize my wish to the babies, "You are coming out of the house first time crossing thr door.Let your path be filled with flowers wherever you go".
I'm slowly getting back to paper-craft . Hope to make some more cards.Surely share all my expiriences with you all,

Love , laugh and live the life to the fullest,
-Ranjana


Google analytics